
After setting up the API-driven user provisioning and modifying the provisioning to fit one’s needs, the naturel next is to connect it to a “source of truth” to automate the provisioning. – preferably the HR system in your company because, HR is the one department in your company that should what know what job function, department, titles etc. that employees in the company holds. The solution to a source of truth could be an SQL database, but this requires your HR system to have an SQL database that holds all employee information to begin with. If you don’t have an SQL database that contains HR data, because HR system is built in a different way or maybe your HR system is cloud based (SaaS), then this blog post might serve as an inspiration to you on how to setup a Azure SQL database and use your HR systems API to load data into said database and the use it with the API-driven user provisioning from Microsoft.
This blog post is focused on how to access an Azure SQL database with PowerShell with SQL queries and then use it with API-driven user provisioning. Since there are a lot of HR systems in world and not one of them are the same. It will be hard for me to cover every HR systems API, but I’ll briefly over a “high level” approach to it. There is of course the question; Why use an Azure SQL database, and not just create code that “binds” the HR systems API together with the API-driven provisioning service? My answer to that question is the following.
By using an Azure SQL database you create a centralized point from where you will get data to be used in other applications as well. Like your Business Intelligence department will have an easier timer accessing data in an Azure SQL database instead of providing them with an API. You also have the option to fine tune permissions in the SQL database better than with the HR systems API (or even the HR system itself). In my opinion an Azure SQL database will provide you with better scaling because by having an Azure SQL database that contains all your relevant HR database it becomes much easier for a lot of people to work with that because SQL is “easier” to use than an API – You can load SQL data into Excel and Power BI for example and then people can start working with the data instead of relying on a developer to provide the data from the API.
This why I chose to use an Azure SQL database with the API-driven user provisioning for Active Directory and then using my HR systems API to load data into SQL tables so that me and my colleagues can use it for more than just the API-driven user provisioning.
Design
The overall design for the use of an Azure SQL database with the API-driven user provisioning will look like this:

The setup and the HR system API
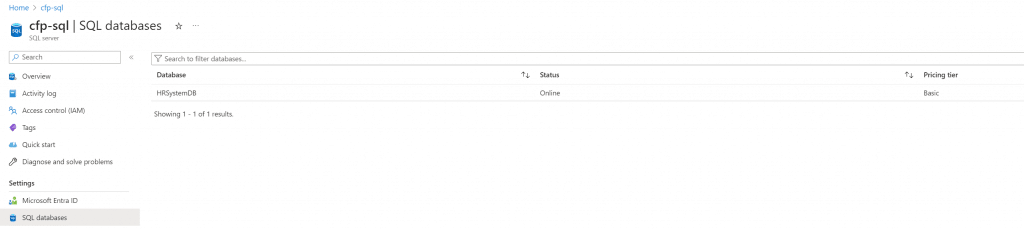
The first step in this setup is to create an Azure SQL database – I will not go into detail about that in this blog post, but you can read here on how to set it up – Create a single database – Azure SQL Database | Microsoft Learn
The second thing we need is access to the HR data using an API that is provided by the HR system. Since there are a lot of HR system in world and none of them are the same, I will try to provide you with a semi high-level approach that potentially can be modified for your needs, and if it not, it might serve as an inspiration to you.
The way I’m going to do it is by creating a table for each endpoint in my HR system API. In this blog post there will only be one table for the purpose of keeping it simple and inspirer you.
The data model for the database will be like this:
https://hrsystemapi.com/API/Employees = dbo.Employees
In the SQL table you need to create the exact amount of columns that you get returned from your HR API so that the data in the database and the HR systems API is 1:1.This will make it easier to manage overtime hence the API and the SQL database are a mirror of each other, this will also make it easier for the next person to understand the data model.
PowerShell is a great way to access an API and then build an integration to the SQL database that feeds in the data. Just below is a basic PowerShell script that gets data from an API – I’m using the below code to access my HR systems API, so it should be straight forward for you to change it to fit your needs (but not a garanti)
The $response output should then be used to create an SQL table based on attributes you get returned. For example, when you run the above code with your HR systems API and you get the following returned:
EmployeeID: DW
Name: Darkwing Duck
Title: The Masked Mallard
Department.: Justice Ducks
You then need to create one table in the SQL database that contains the four columns named EmployeeID, Name, title, department.
(Table name should be the same as API endpoint name https://hrsystemapi.com/API/Employees)
Im using test data for this blog post. You can find the SQL query to create the table and test users here
SQL/CreateAndInsertData-API-Driven-Sample.SQL at main · ChrFrohn/SQL (github.com)
When the table is created, we can modify the PowerShell code that gets the data from the HR systems API to import into the SQL database table like this:
Remember! This needs to be modified to fit the output from your HR systems API! – This is just a PoC!

Now that we have the code that imports the data into the SQL database table from the HR API, the next thing is to set it up so that it can run automatically on a schedule. For that part I’ll be using an Azure Automation Account and use that to run this PowerShell script (And other PowerShell scripts related to this)
You can read here on how to set an azure automation up here: Quickstart – Create an Azure Automation account using the portal | Microsoft Learn
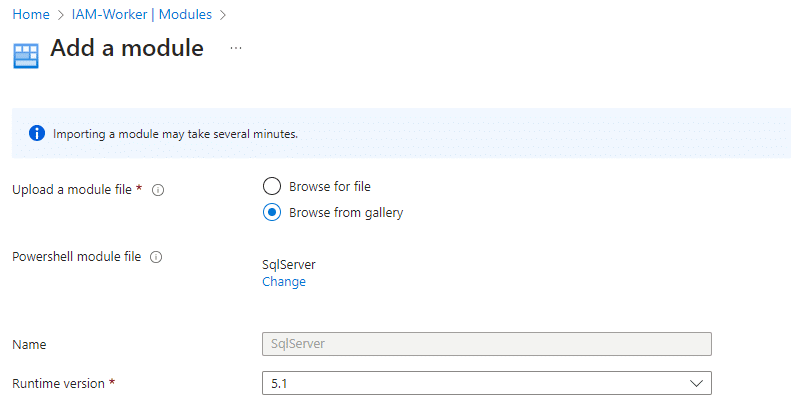
When the Azure Automation has been created all, we need to do is a install the SQLserver PowerShell module on the Azure Automation Account.
Navigate to your automation account and select Modules in the left side menu and +add module in the top of the window. Select browse from the gallery and the select Click here to browse from gallery – In the next window do a search for SQLserver and select it and import it.
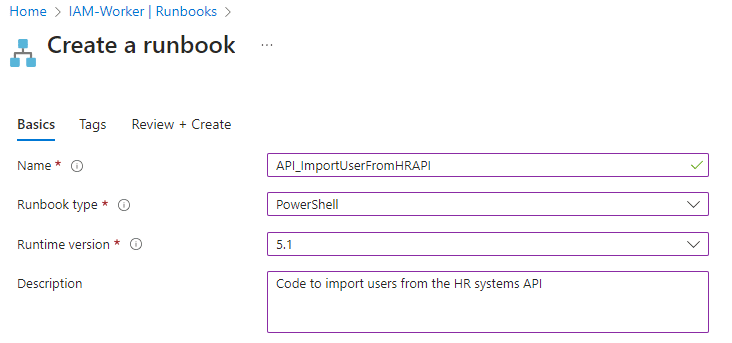
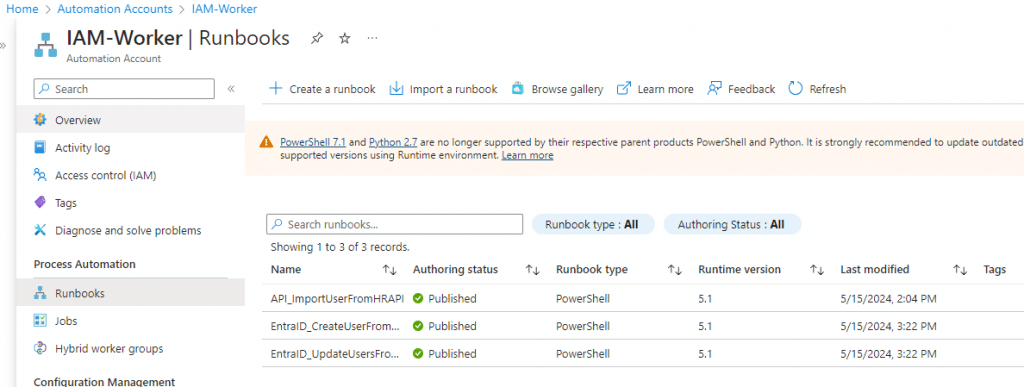
It will take a few minutes for it to be ready, but we can procedure to Runbooks in the Automation Account to create a runbook to run the PowerShell code that imports the data from the HR system API into our SQL database.
Select Runbooks and select create a runbook – provide it with a Name and select PowerShell en Runbook type and 5.1 in Runtime version like so:
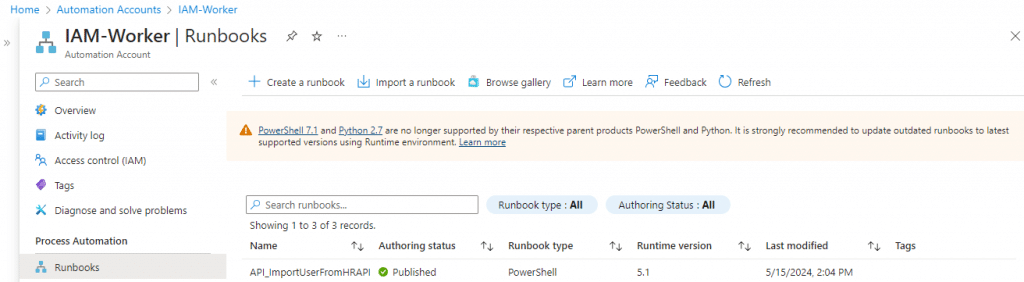
The runbook should now be visible in the list of runbooks – Select it on the list and Edit in the top of the window and Edit in portal. Copy and paste the PowerShell code into the empty editor and select Save and then Publish.
Now select schedule in the left side menu of the Automation account and selectadd schedule in the top of window and then provide your schedule with a name and how often you want it to run.

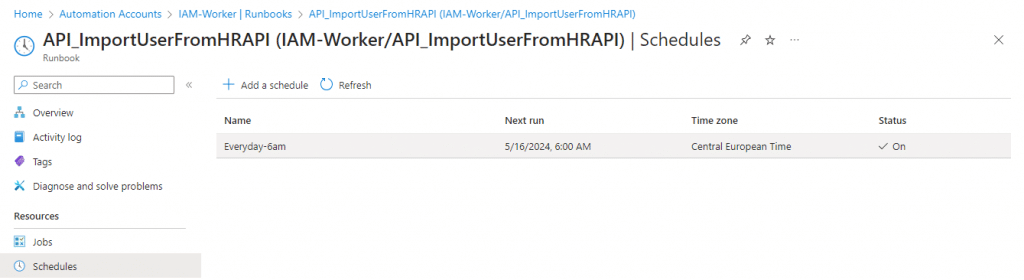
When the schedule has been created navigate to the Runbook and “add” the schedule to the Runbook by selecting Schedules and “Add a schedule in the top”
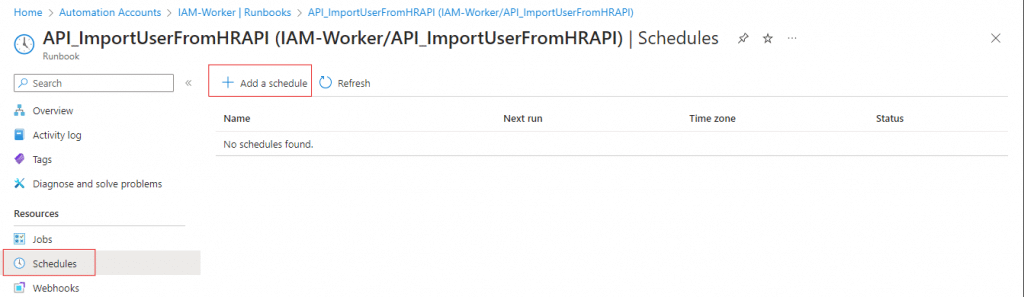
Select Schedule and select the Schedule form list and select ok at the end.
The integration has now been built, we have setup the automation account with the PowerShell script that imports the data from the HR systems API into the database.
Working with an SQL database as the source of truth
It is now possible to use the SQL database as the source of truth for the data that is going to be used to create and update users via the API-driven user provisioning service. The API-driven user provisioning service can in fact also be used to update users and not just create them. Because every time you send a JSON payload to the API-provisioning service, then if the user doesn’t exist it will be created, but if the user is already in Active Directory, then it will be updated automatically with the information in the JSON payload without the need to define create or update in your code.
This is good know since you might want to run two jobs – one for creating users, and one for updating user and since you might want a PowerShell script to check for users that needs to be updated every hour and PowerShell script that only creates users once a day. This is what I’m going to do next.
The way this is going to be done is a combination of PowerShell, JSON, and SQL. The code below checks if there are new employees, and if there are, they get created using the API-driven user provisioning service based on the SQL column ValidFrom.
TIP: Instead of “hardcoding” the SQL queries into the PowerShell script, you can Import SQL query from GitHub repository into a PowerShell script. – christianfrohn.dk, then when you need to change the SQL query in your code, you can just edit the query in in your GitHub file instead of the PowerShell code.
We can see in API-driven provisioning log that three users has been processed:

Two has been created, and one has been updates (Because the user was already in Active Directory). It’s okay that the code process three users, because even though one of them was not new per say, the user was still found in the SQL query can got updated, that’s okay – Because we want the user to have the most current infomation anyway.
This code should also be run on the Azure Automation Account on schedule, but after the API import job so we don’t miss any new users. But remember, the code above does work, you need to a just the SQL and the JSON mapping to fit your own needs.
To update users, is more or less the same code, the only difference is the SQL part in the code since it will be based on ModifiedDateTime and not ValidFrom in the SQL query instead.
Like before with the code to create users, we are going to add this code as Runbook in the Azure Automation Account as well and then create a schedule for it run every two hours.
Wrapping up
Now that we have setup an automatic way for users to be create and updated in Active Directory from data in our Azure SQL database using the API-driven user provision service based on data from the HR Systems API, we can then begin to work with Microsoft Entra Identity Governance Lifecycle workflows that will help us to provide user with the necessary access and permissions they need to perform their duties. Remember all the code above is sample code and should be adjusted to fit into your own environment